
Capture an area or window
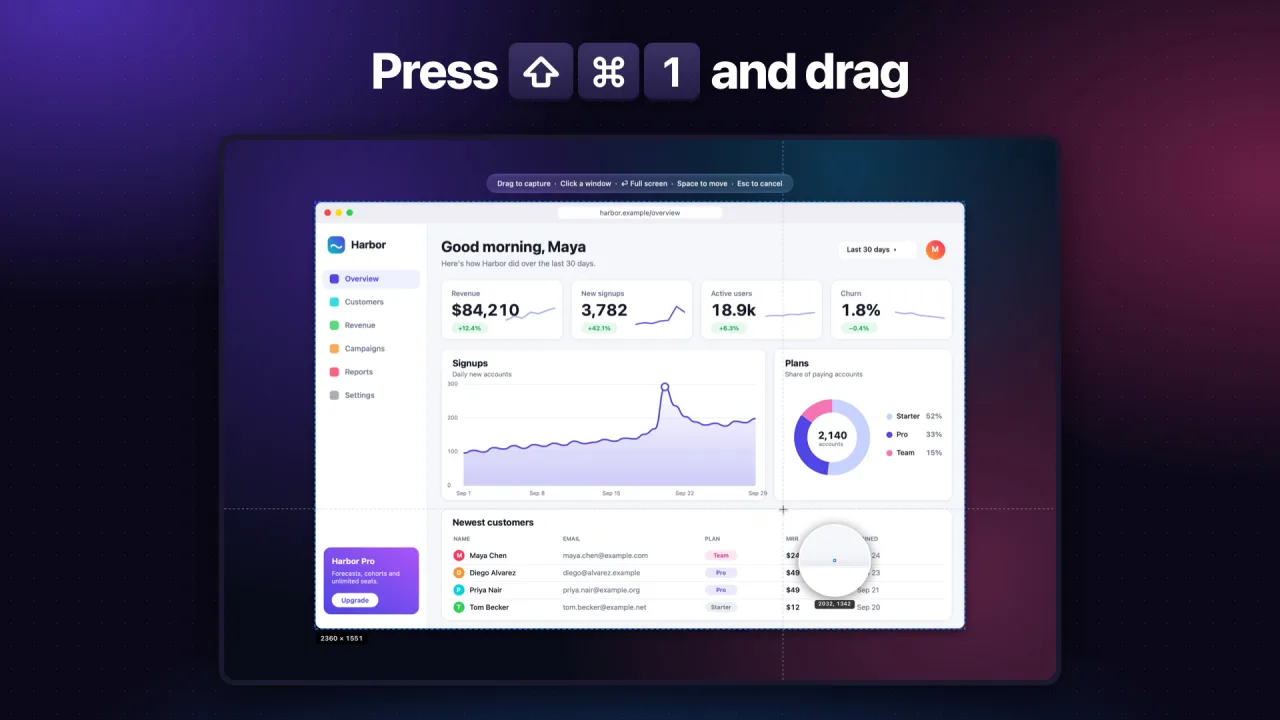
Starts a capture from any app. The screen freezes and the pointer becomes a crosshair.
Pick a different shortcut in Settings if you like.
 Download free
Screenshot Ultimate for Mac
Press ShiftCommand1 and drag. Mark it up in seconds, then drop it into any app. Screenshots that explain themselves.
The tour · 0:21
Capture, preview, mark up, highlight, then go further with Advanced Mode.
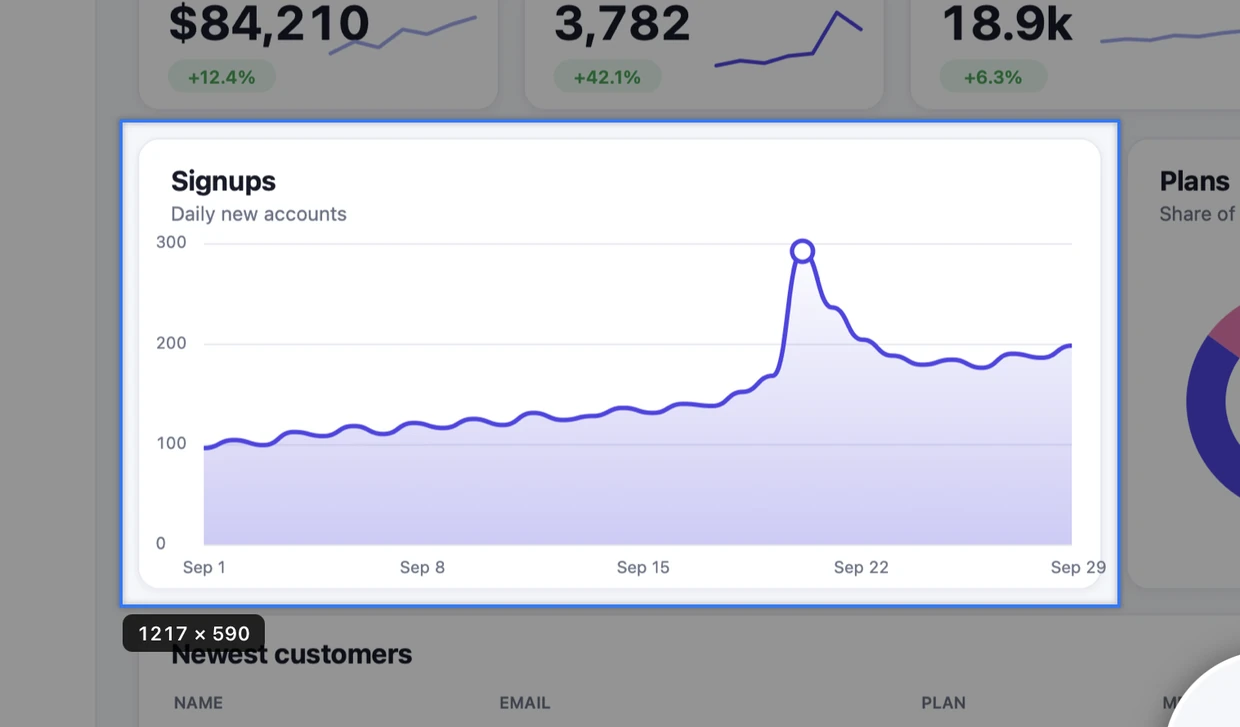
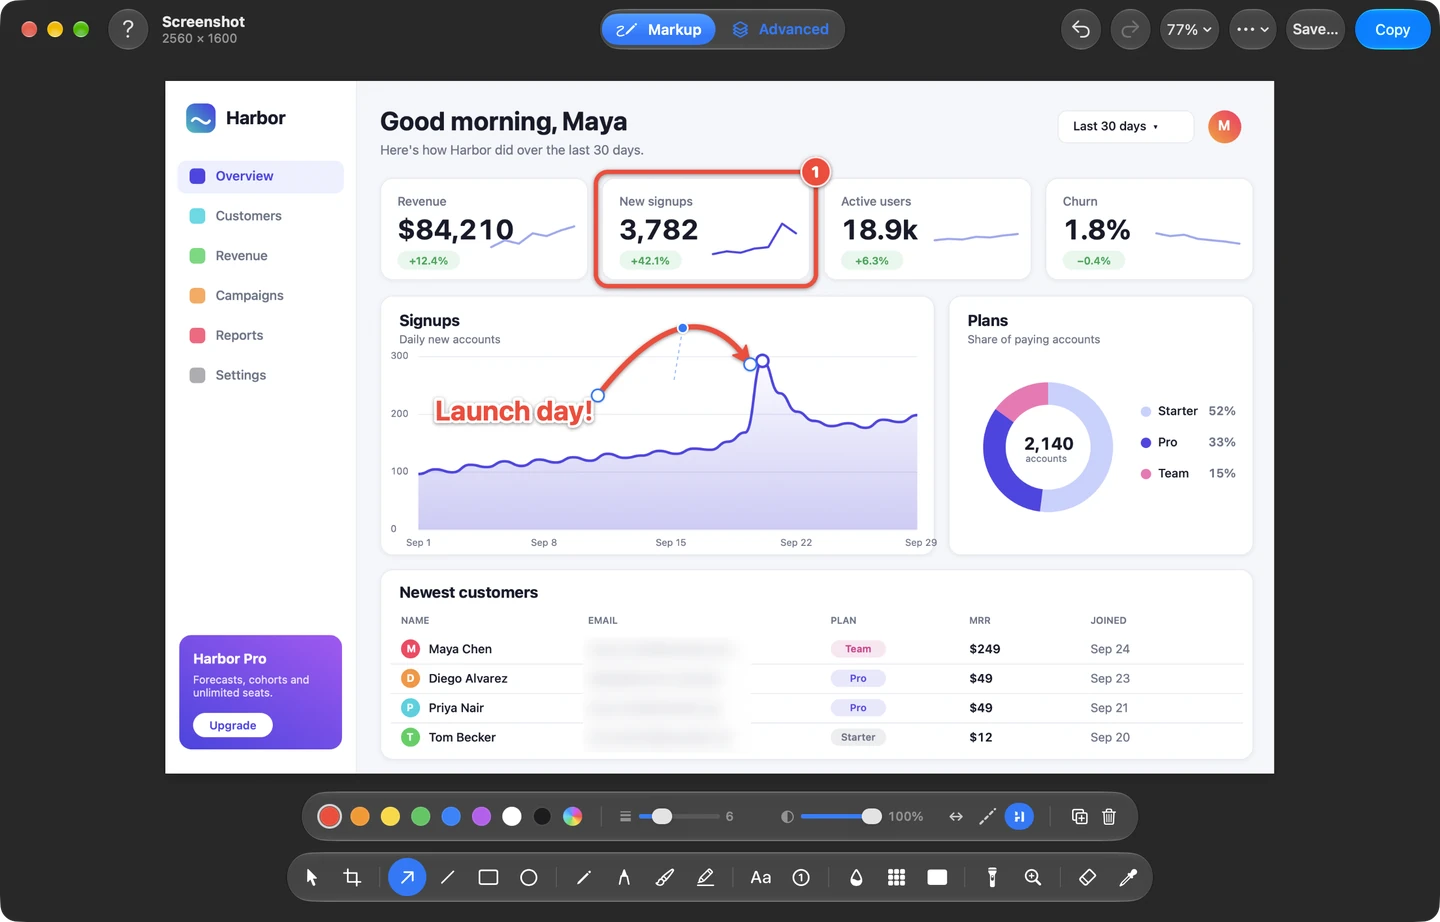
The video shows pressing ⇧⌘1 and dragging over a dashboard, the preview card sliding in, then marking the screenshot up with a box, a numbered step, a curved arrow and a “Launch day!” label, picking a typeface, highlighting a table row, and switching to Advanced Mode with its Layers panel.
 1920 × 1080
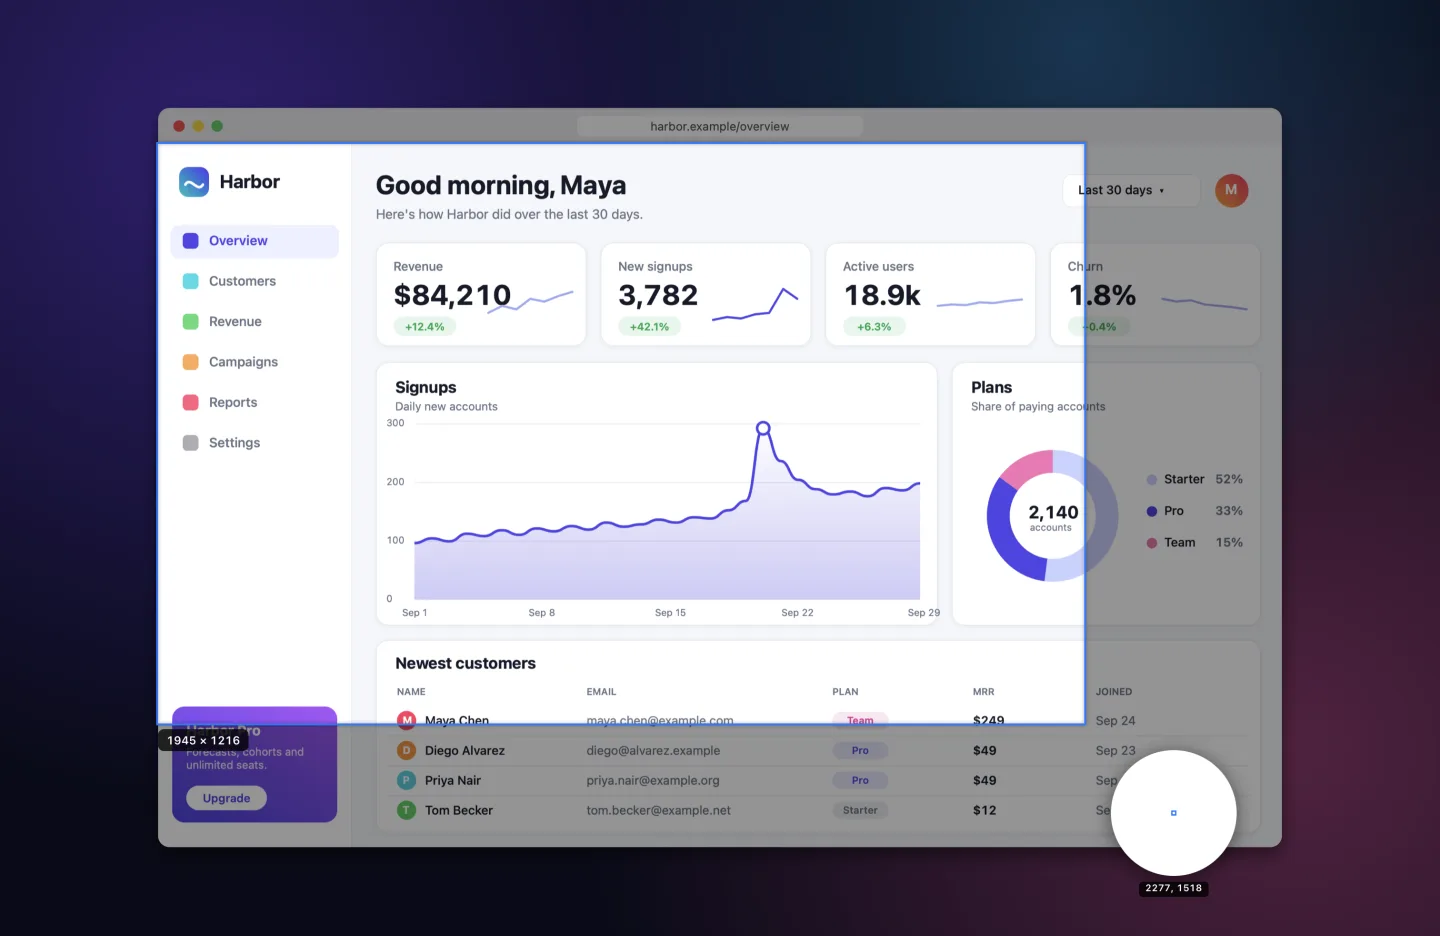
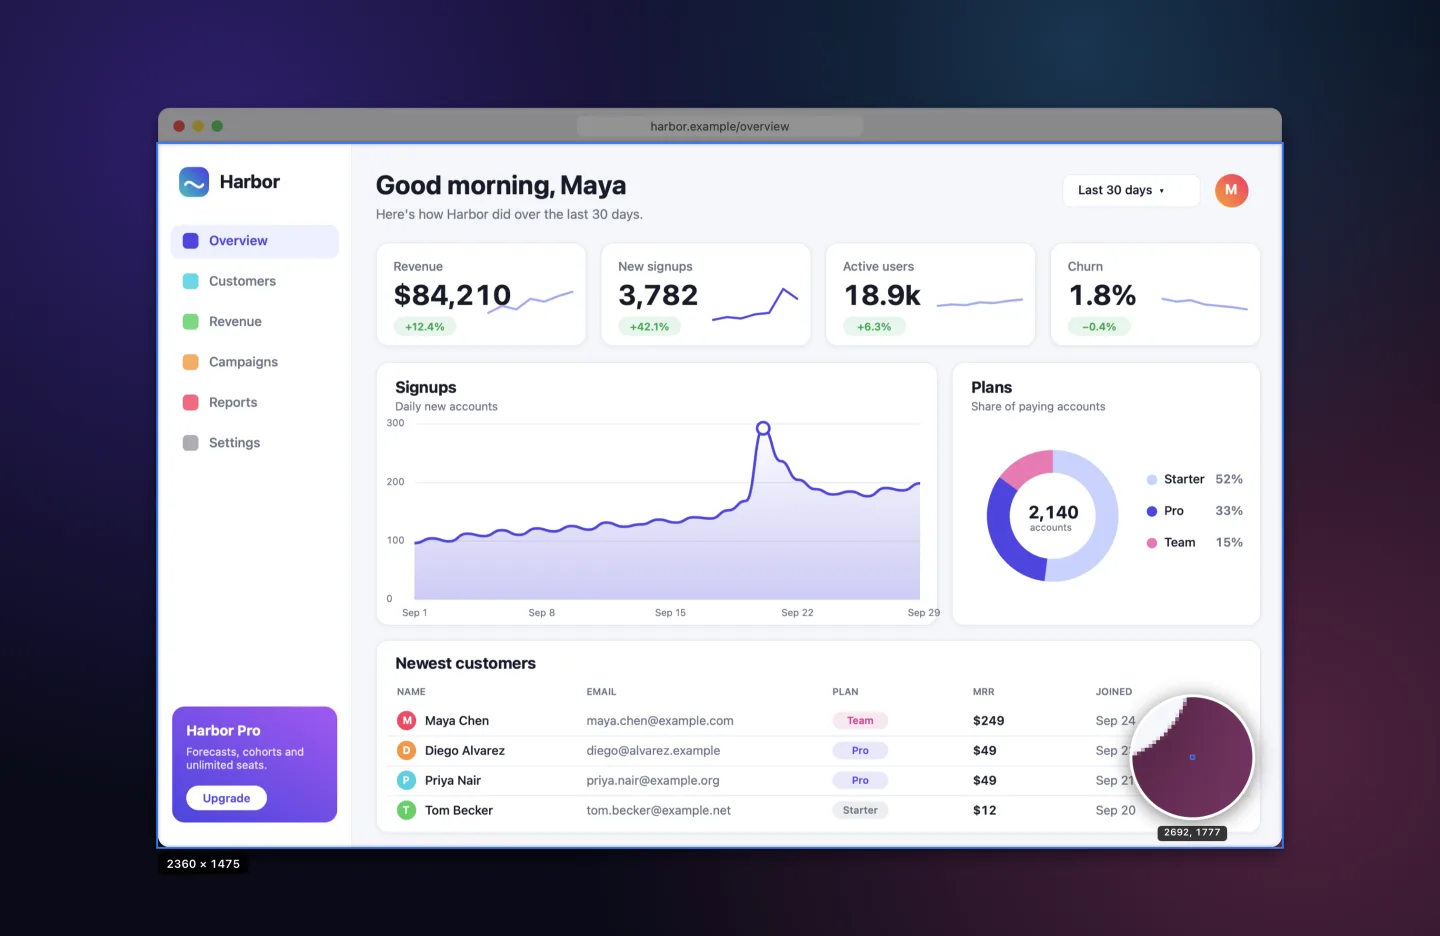
Drag an area, click a window, or press Return for the whole screen. The frozen overlay shows the exact pixel size and an 8× loupe, so every edge lands where you want it.
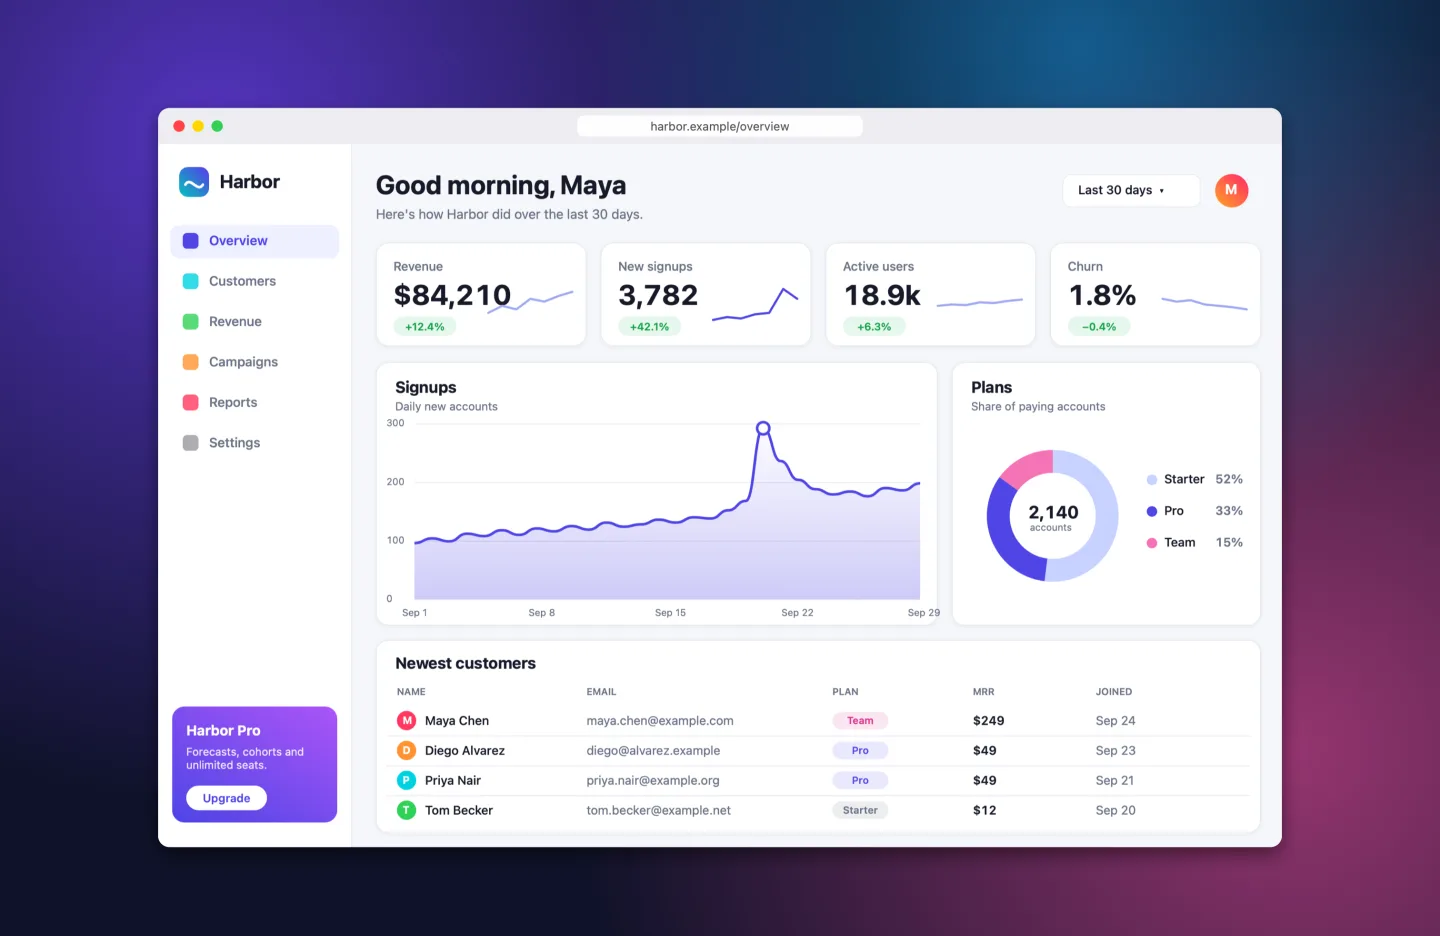
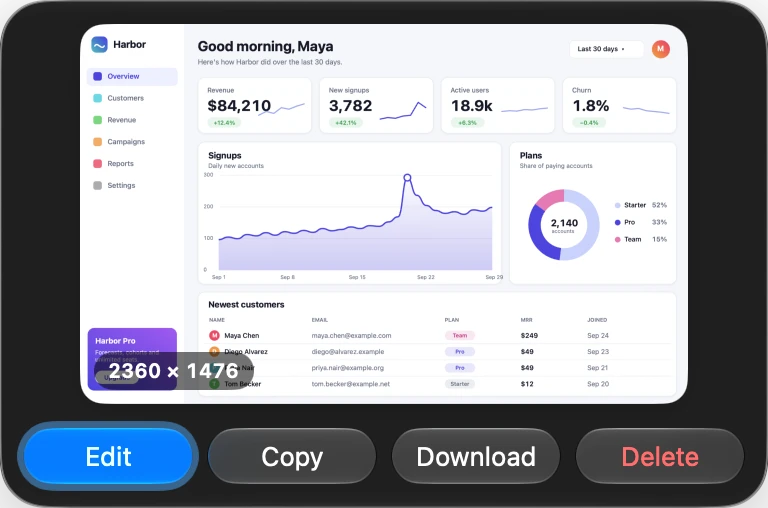
A small preview card slides in at the bottom right: Edit, Copy, Download or Delete. Drag the thumbnail straight into Slack, Mail or Notes. Several captures stack upward.
Return EditCommandS DownloadCommandDelete Delete
Arrows that bend, steps that count themselves, labels and highlights, each one key away. This one is live: pick a tool, or press its key.
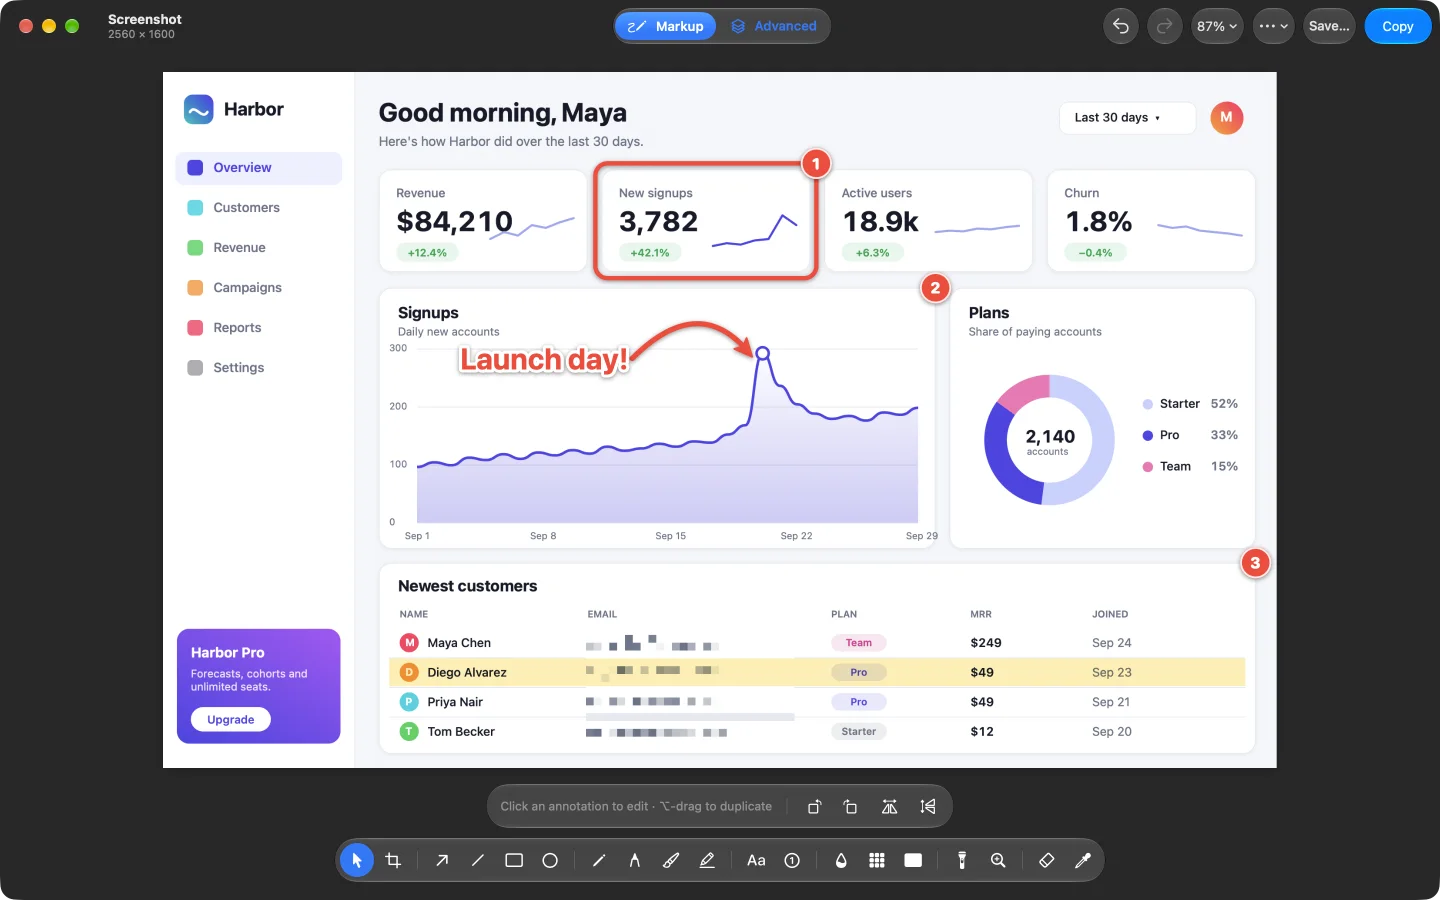
A web replica for trying things out. The real editor is native and has all 20 Markup tools.
Copy or save in one keystroke, or drag the thumbnail straight into Slack, Mail, Notes or any app.
Flip the Markup | Advanced switch, or press ⇧⌘A, for layers, selections, retouching brushes and adjustments with live preview.
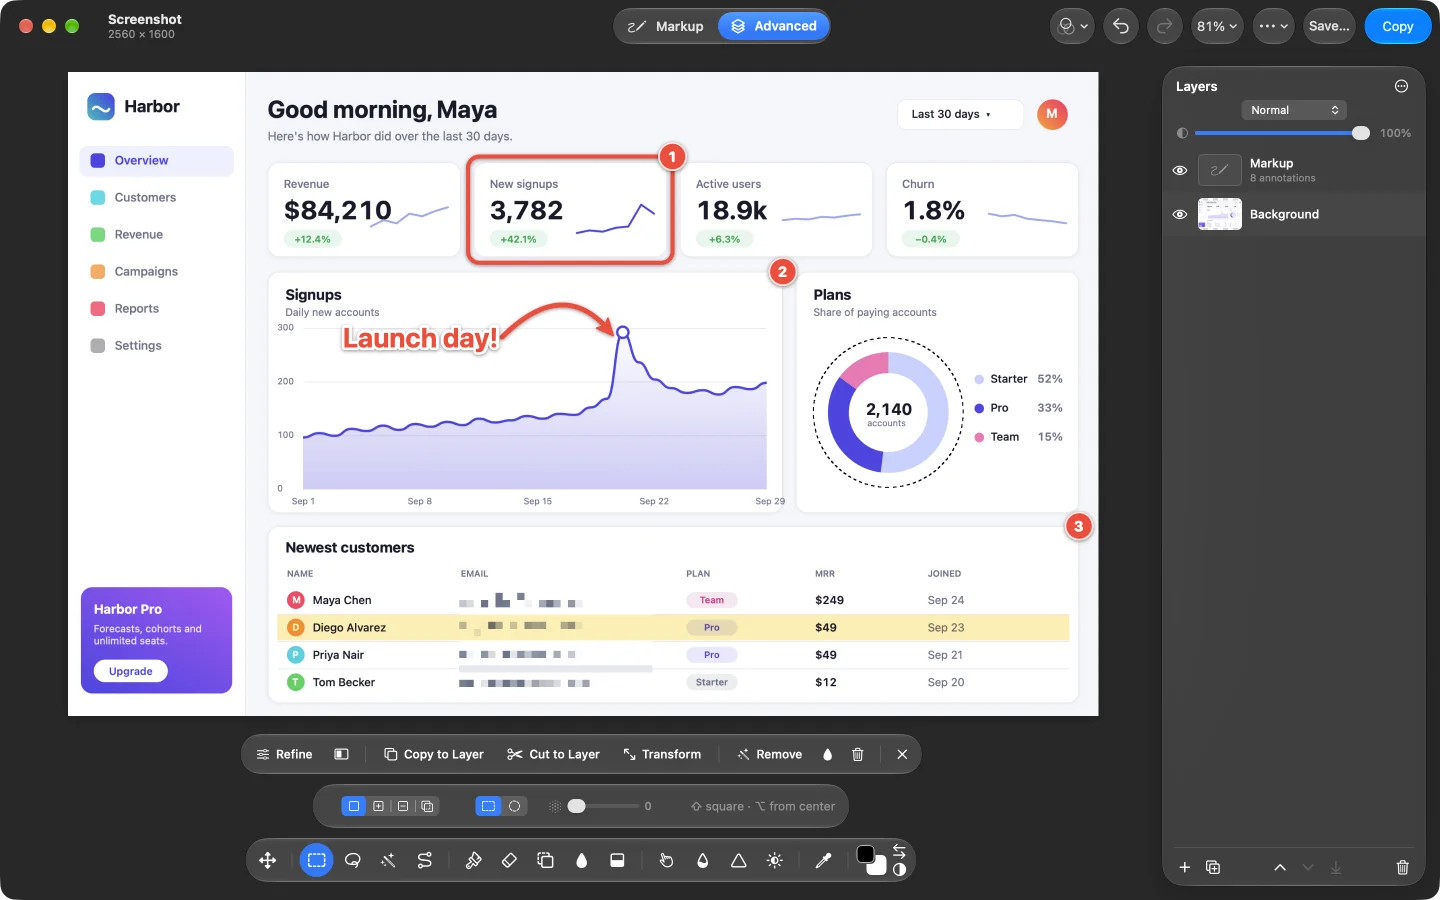
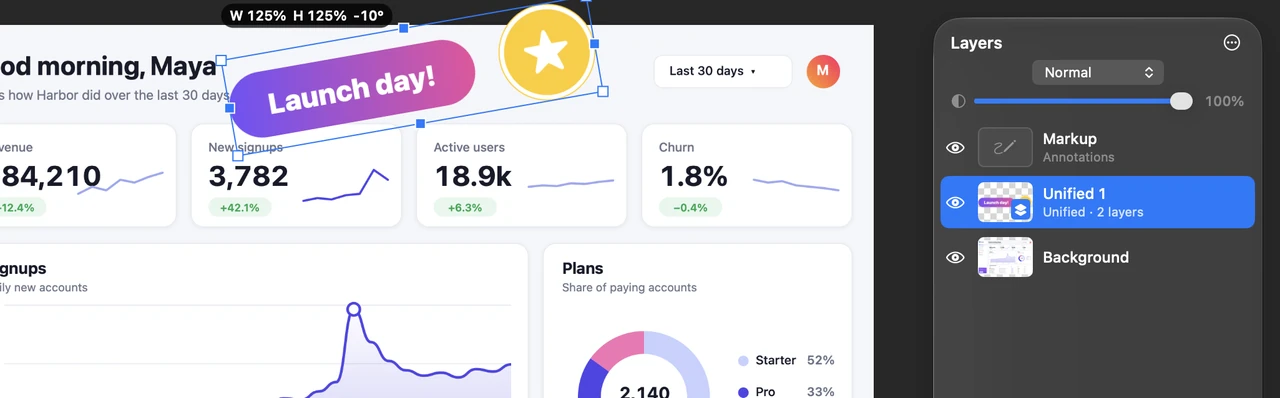
16 blend modes, opacity, merge and flatten. Drag layers between screenshots, or drop images in as new layers.
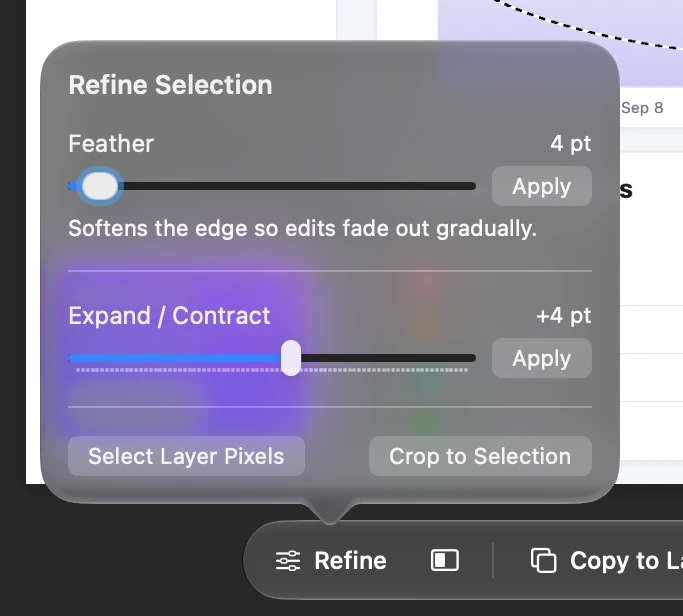
Marquee, Lasso, Smart Select and Select Subject, plus Bézier Pen paths. Feather, expand, contract or invert.

Make a background transparent with a live preview and despill.
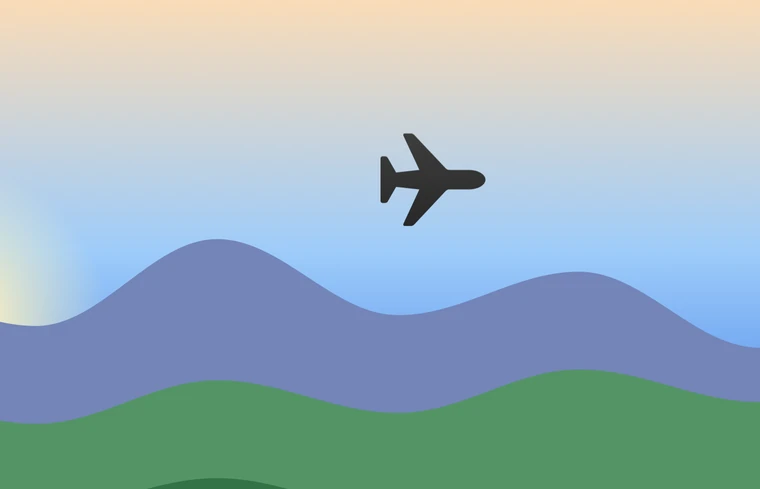
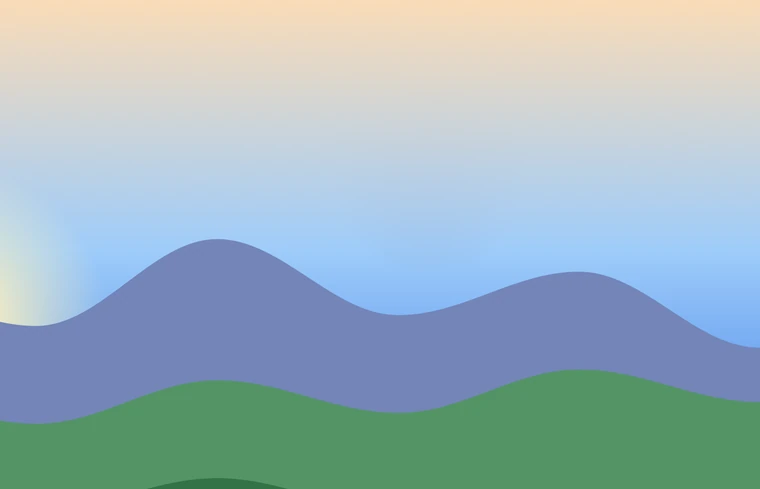
Smart Erase, Clone Stamp and Content-Aware Fill, plus Smudge, Blur, Sharpen, Dodge and Burn brushes.
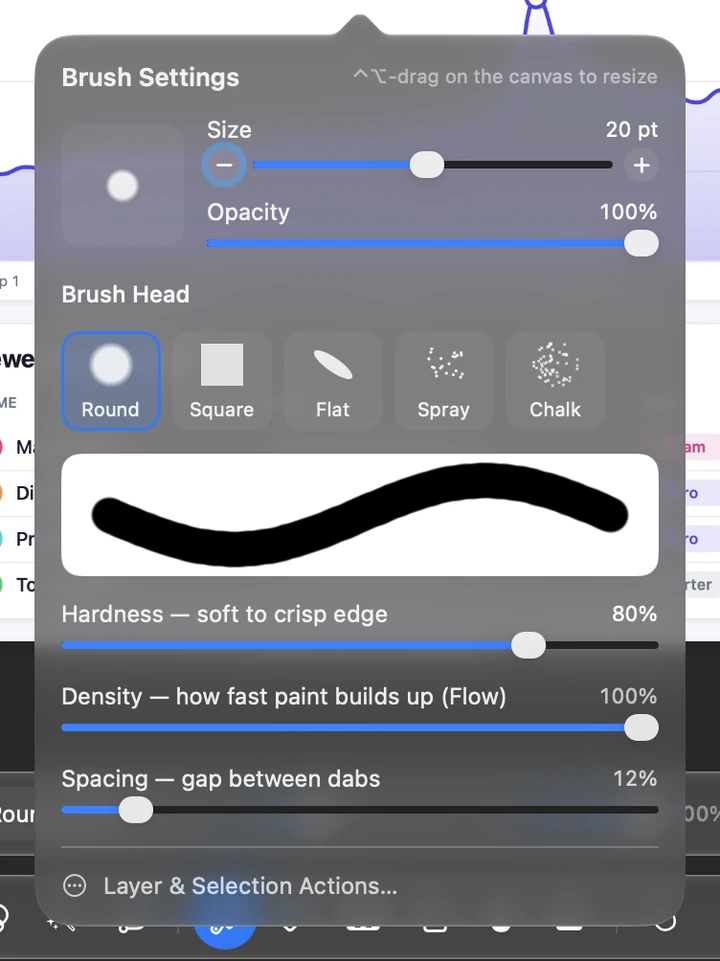
Round, Square, Flat, Spray and Chalk heads, plus the Paint Bucket and Gradient.
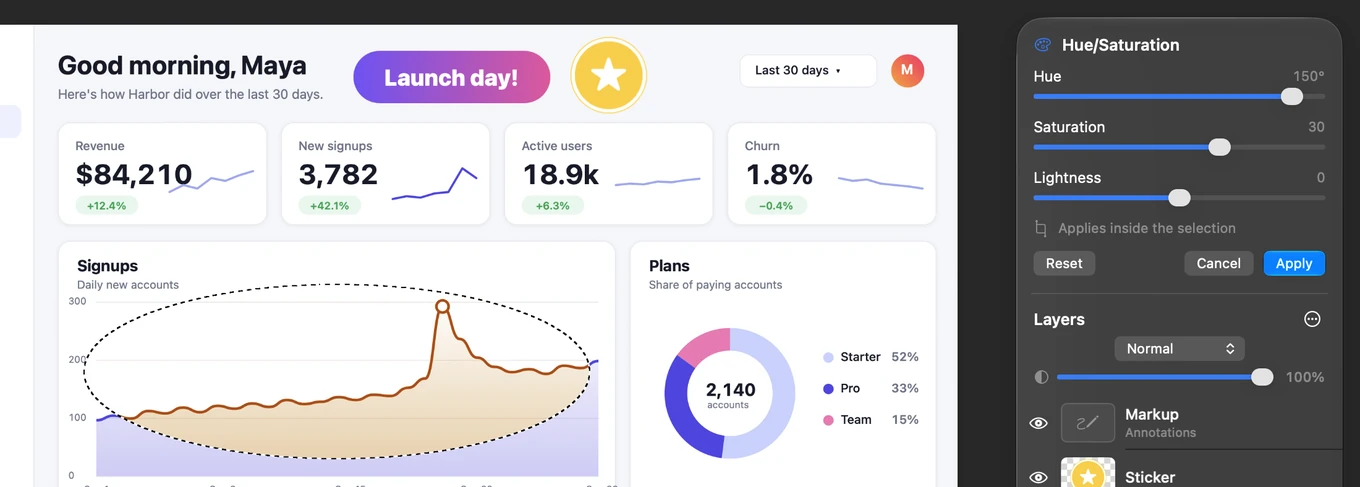
Levels with a histogram, Exposure, Shadows/Highlights, Vibrance, Hue/Saturation, Temperature & Tint and more, all with live preview.
Follows your Mac's appearance, with the Liquid Glass look on macOS 26 and later.
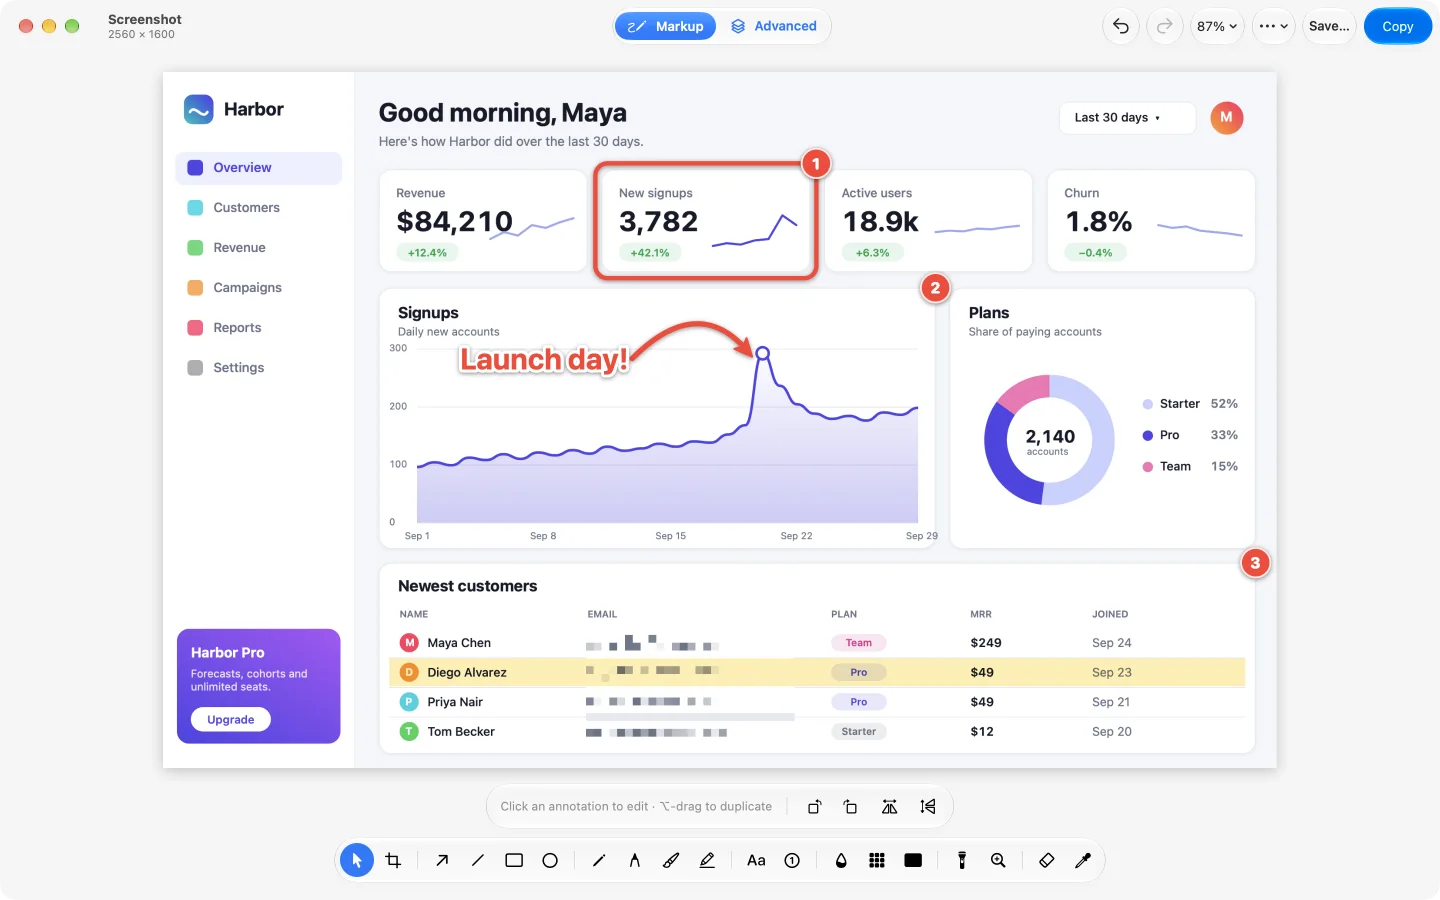
Every Markup tool has a one-key shortcut.
Press a letter to switch tools. 1 to 8 pick colors; [ and ] change the size.
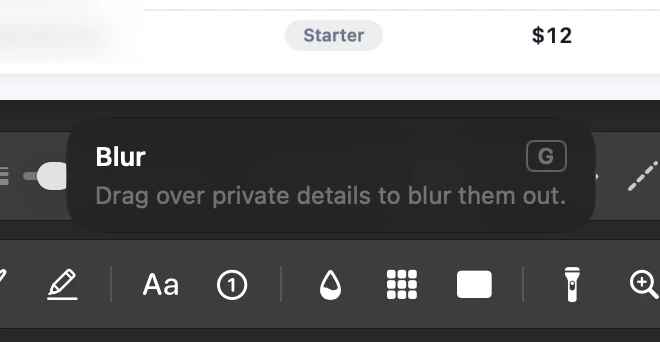
Rest the pointer on a tool for its name, shortcut and a one-line how-to.
Pinch to zoom, hold Space to pan. Nothing needs a right-click.
⌘Z to undo, ⇧⌘Z to redo.
Native on Apple silicon and Intel. macOS 14 Sonoma or later.
Made for bug reports, customer support, tutorials, documentation, design feedback, teaching and everyday sharing.
This site plays by the same rules: no cookies, no analytics, nothing loaded from anyone else.
The same guide that ships inside the app (⌘?), with the app's own hover-card words. Search it, or browse by mode.
Press ⇧⌘1 in any app.
Starts a capture from any app. The screen freezes and the pointer becomes a crosshair.
Pick a different shortcut in Settings if you like.
Drag a rectangle and let go. The size readout shows exact pixels, and the 8× loupe lines up edges.
Move the pointer over a window so it lights up, then click.
Captures the whole screen the pointer is on.
Hold Shift while dragging for a perfect square.
Hold Space while dragging to move the whole rectangle, then let go to keep sizing it.
Changed your mind? Esc cancels the capture.
Gives you time to open a menu or hover over something first.
In the viewfinder menu in your menu bar.
Slides in after every capture. Nothing is saved until you choose.
Opens the editor. Or double-click the thumbnail.
Several captures stack upward.
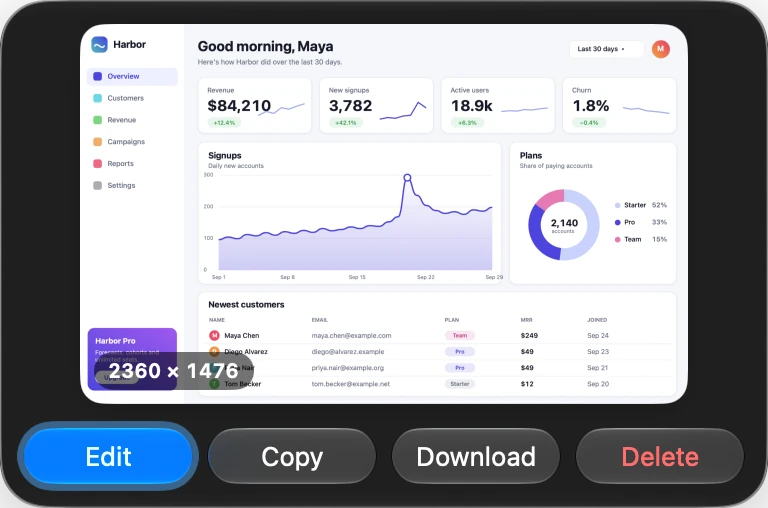
Copies the screenshot as it is.
Saves it wherever you choose.
Throws it away.
Drop it straight into Slack, Mail, Notes, Finder or any app.
One key each while the editor is open. Rest the pointer on a tool for its hover card.
Click an annotation to select it, then drag to move it or pull its handles to resize. Hold Space to pan.
⌥-drag duplicates; arrow keys nudge (⇧: 10 pt).
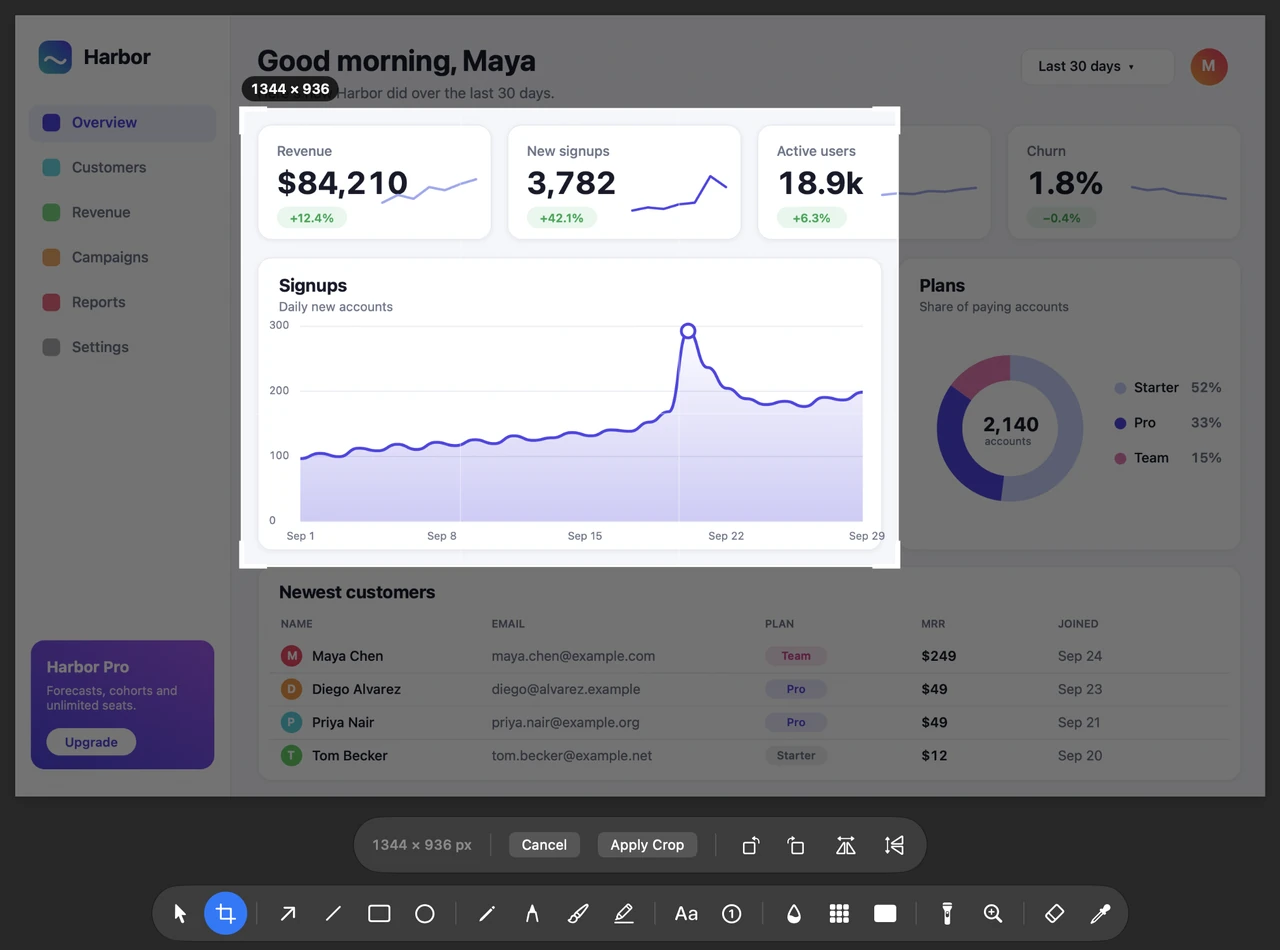
Drag to choose the area to keep, then press Return. Ratios, Straighten, Rotate and Image Size are in the options bar.
Ratios 1:1, 4:3, 3:2 and 16:9; rotate and flip; Image Size and Canvas Size.
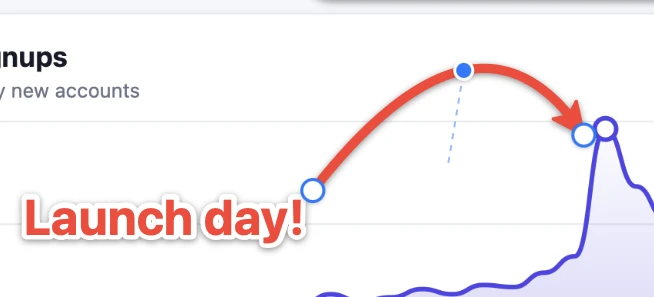
Drag to draw an arrow. Drag its ends to change the length, or the middle dot to curve it.
Double-headed option.
Drag to draw a straight line. Hold ⇧ to snap to 45° angles.
Dashed option.
Drag to draw a box around something. Choose outline, tinted or solid in the options bar.
Corner radius and dashed outlines.
Drag to circle something. Hold ⇧ for a perfect circle.
Outline, tinted or solid.
Draw thin, even freehand lines.
Draw smooth ink strokes that thin out as you move faster.
Paint soft, glowing freehand strokes.
Drag across text to highlight it like a marker. Switch to box mode for rectangles.
Blends like real ink.
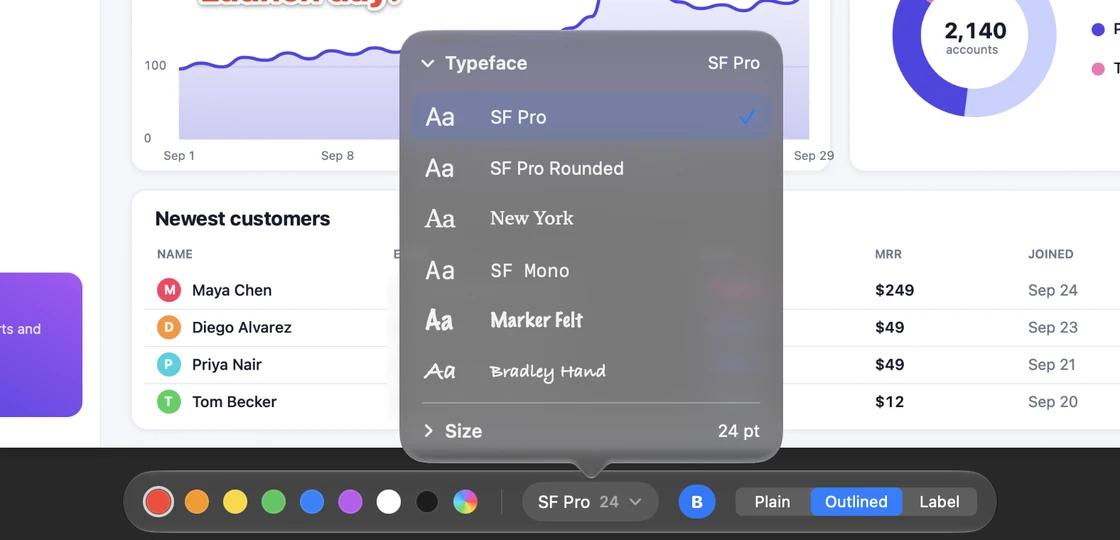
Click to type a label. Aa picks the font and size; drag corners to resize or rotate.
Six typefaces: SF Pro, SF Pro Rounded, New York, SF Mono, Marker Felt and Bradley Hand. Plain, outlined or label styles.
Click to drop numbered steps — 1, 2, 3 — for walkthroughs.
Numbers itself: ① ② ③.
Drag over private details to blur them out.
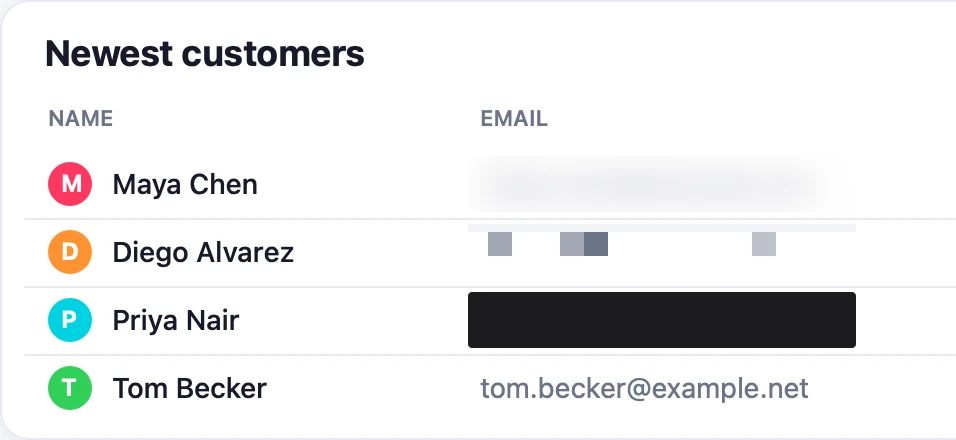
Drag over an area to turn it into unreadable blocks.
Drag to cover an area with a solid bar.
Nothing underneath survives: the one for passwords and account numbers.
Click a person or object to make it vanish, or paint over anything. What was behind is filled in.
Apple Vision finds it on your Mac, and the fill typically takes 0.1 to 0.4 seconds. Draw a loop to erase what's inside.
Drag around what matters; everything else is dimmed.
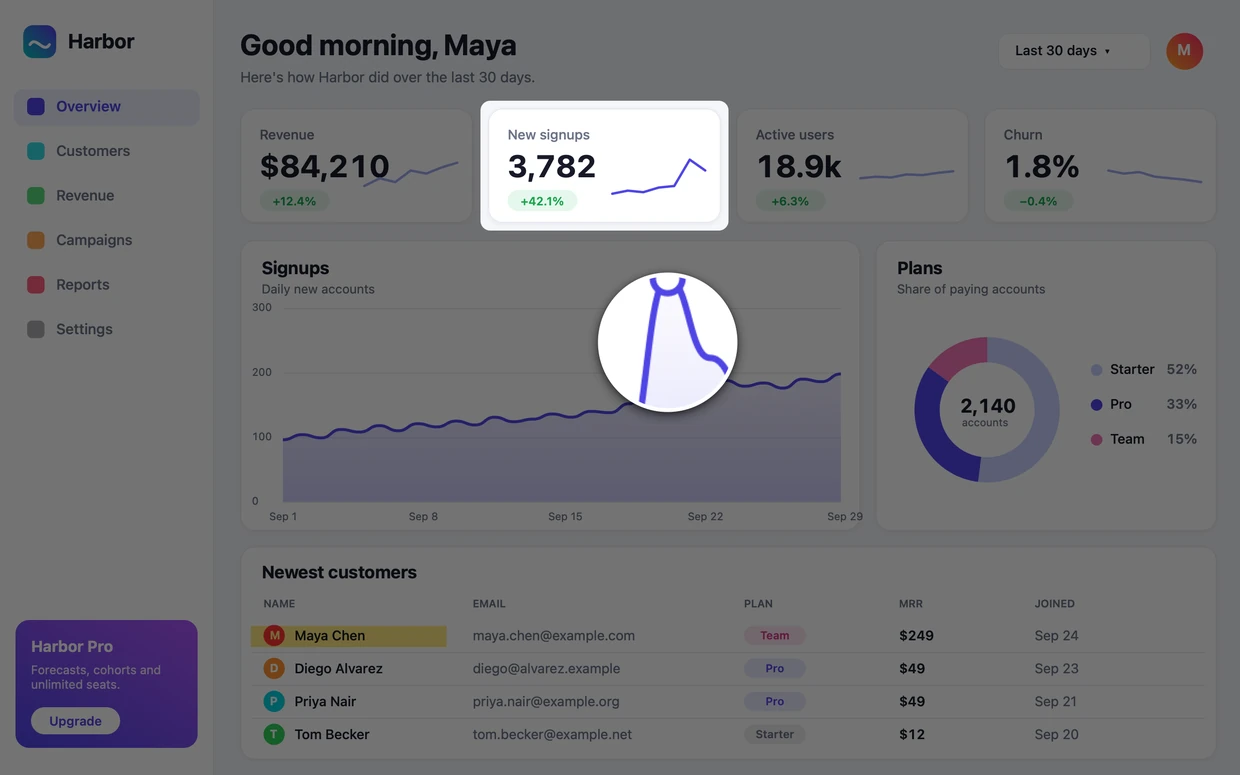
Drag to place a lens that enlarges the detail underneath.
Click or drag across annotations to remove them.
Click anywhere in the image to pick up its color.
Shortcuts that work with every Markup tool.
Red, orange, yellow, green, blue, purple, white and black.
Changes the line width; for text, the size.
Snaps lines to 45°, makes squares and circles, and straightens freehand strokes.
Draws shapes out from the center.
Hold Option and drag an annotation to copy it.
Moves the selection 1 pt (⇧: 10 pt).
Every step is undoable.
Pinch or ⌘-scroll to zoom around the pointer.
Hold Space and drag to pan, with any tool.
Rest the pointer on any tool for its name, shortcut and a one-line how-to.
The built-in, searchable guide to every tool and button.
Press ⇧⌘A or flip the Markup | Advanced switch. These keys work in Advanced Mode.
Switches between the two editors. The switch sits in the toolbar.
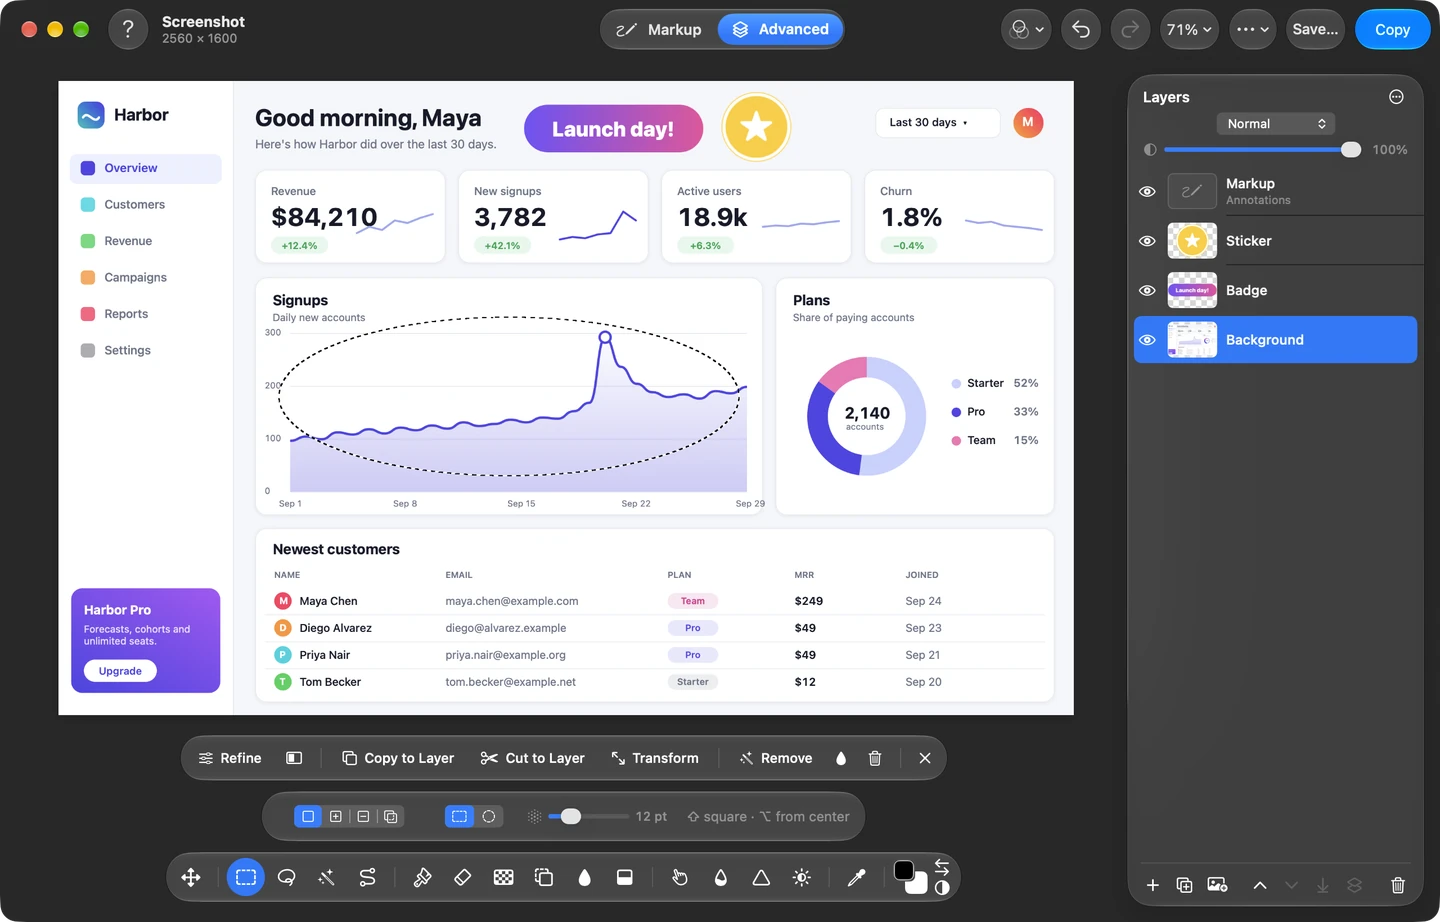
Drag any layer's pixels to select and move that layer (or drag selected pixels); ⌘-click to select several. ⌘T scales and rotates; hold Space to pan.
Drag to select a rectangle or ellipse. Hold ⇧ to add to the selection, ⌥ to subtract.

Draw around an area to select it. Polygon mode selects with straight edges, click by click.
Click to select similar colors (Wand) or a whole object (Object). Select Subject finds the main subject.
Object and Select Subject use Apple Vision on your Mac.
Click to place points and drag to curve; click the first point to close. Press Return to make it a selection.
Select everything, drop the selection, or select everything outside it.
Feather softens the selection's edge; Expand and Contract grow or shrink it.
Stack, reorder and blend layers with 16 blend modes and opacity. Merge down (⌘E) or flatten (⇧⌘E).
Drag layers between screenshots.
Paste or drop images in as new layers.
Paint with the foreground color. Five heads: Round, Square, Flat, Spray and Chalk.
Control-click the canvas for size, hardness and density.
Erase pixels on the active layer, leaving them transparent.
Removes a background color — white, a green screen, anything flat. Click the color to remove, then fine-tune and Apply.
Live preview, with despill.
Click a person or object to erase it from the active layer, or paint over anything. What was behind is filled in.
Select something, then click Remove (or press Return): it vanishes and what was behind is filled in from the surroundings.
⌥-click to choose an area, then paint to copy it somewhere else.
Click to fill an area of similar color with the foreground color.
Drag to fill with a smooth blend from the foreground to the background color.
Drag to push and smear pixels, like a finger through wet paint.
Paint over an area to soften it. Go over it again for more blur.
Paint over an area to crisp up its edges.
Paint to lighten (Dodge) or darken (Burn) parts of the image.
Click to pick the foreground color from the image. ⌥-click picks the background color.
X swaps foreground and background; D resets them to black and white.
Levels with a histogram and live preview.
Shift hue, saturation and lightness with live preview.
Brightness/Contrast, Levels, Exposure, Shadows/Highlights, Vibrance, Hue/Saturation, Temperature & Tint, Posterize, Auto Tone, Black & White, Invert, Gaussian Blur, Unsharp Mask, Add Noise and Pixelate, all with live preview.
⇧⌘L Auto Tone · ⇧⌘U Black & White · ⌘I Invert.
How it fits in, and what stays on your Mac.
The viewfinder icon. No Dock icon until an editor is open.
Optional, so the shortcut is always ready.
Follows your Mac's appearance, with the Liquid Glass look on macOS 26 and later.
Pinch to zoom; nothing needs a right-click.
Native on Apple silicon and Intel. macOS 14 Sonoma or later.
Text recognition and Smart Erase run on-device. Your screenshots never leave your Mac.
App Store privacy label: Data Not Collected.
Free on the Mac App Store
Screenshot Ultimate is free on the Mac App Store. No account, no tracking. Install it, press ⇧⌘1, and go.